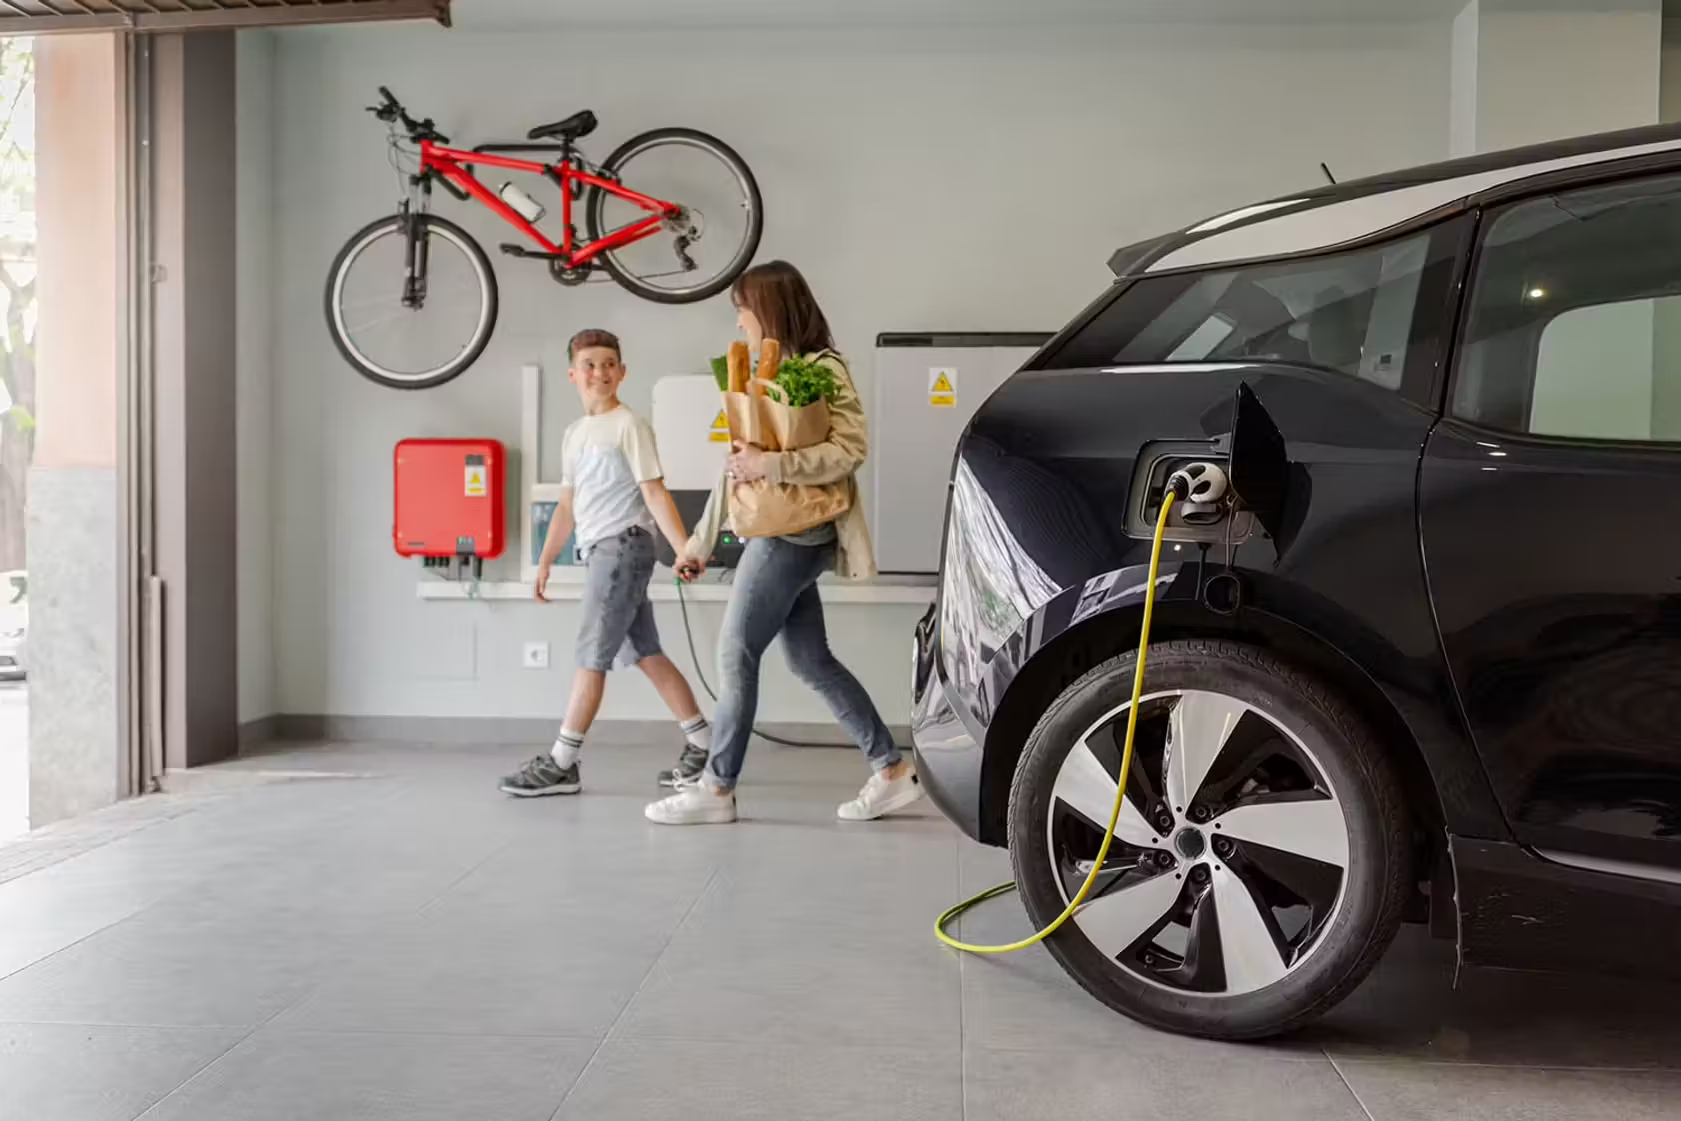
Installing an EV charger at home is a great way to make charging your electric vehicle more convenient and cost-effective. Here’s a step-by-step complete guide to installing a home charger:
- Choose a location
The ideal location for your charger should be easily accessible to your EV and close to your home’s electrical panel. Consider a spot that is protected from the elements if you plan to install it outdoors. Installing inside a garage is also a convenient option. - Determine the type of charger
There are two main types of EV chargers: Level 1 and Level 2. Level 1 chargers use a standard 120-volt outlet and are typically used for overnight or all day charging. Level 2 chargers use a 240-volt outlet and provide faster charging speeds. We strongly recommend a Level 2 charger. You may also want to consider running enough current to your charger so that in case of a second EV you have enough power to run a second outlet and charge two cars simultaneously. - Obtain permits (if necessary)
Depending on your local regulations, you may need to obtain permits for the installation of an EV charger. Check with your local building department to determine the specific requirements. - Hire a qualified election
Get a licensed electrician to install your EV charger. They will ensure that the installation is safe and compliant with local codes. Installation costs can run from $700 – $2500 depending on the distance from the main panel or other variables. DIY stores such as Home Depot also have a network of qualified electricans who can install your charger. - Installation
The electrician will typically install a dedicated circuit breaker in your home’s electrical panel to handle the additional load of the EV charger. They will then run the necessary wiring from the panel to the charging location and install the charger itself. At the charging point your electrician will terminate the cable with, for example, a 240 volt 35-50 amp plug for a Level 2 charger, commonly referred to by electricians as a NEMA 14-50. Alternatively, if you are using a Smart Charger the electrician will terminate at the charger and there will be a cable leading from the Smart Charger to your EV. - Testing and Activation
Once the installation is complete, the electrician will test the charger to ensure it is working properly. You can then activate the charger and start charging your EV.
Additional tips
- Consider smart chargers: You can keep charging simple and install a standard NEMA- outlet you may also want to consider a smart charger which offers additional features like scheduling charging times and remote monitoring.
- Incentives: Check for available federal, state, or local incentives that can help offset the cost of installation. Frequently, the local power company will run promotions and may compensate you for all or part of the installation fee. Check with your local power provider.
- Maintenance: Regularly inspect the charger and ensure it is properly maintained.
THE TAKEAWAY
By following the steps outlined above our Complete Guide to Installing a Home Charger, you can successfully install an EV charger at home and make charging your electric vehicle more convenient and efficient.
Sources: EV Car Answers Editors, Gemini, Photo by Mliu92, CC BY-SA 4.0
Discover more from EV Car Answers
Subscribe to get the latest posts sent to your email.


Be First to Comment